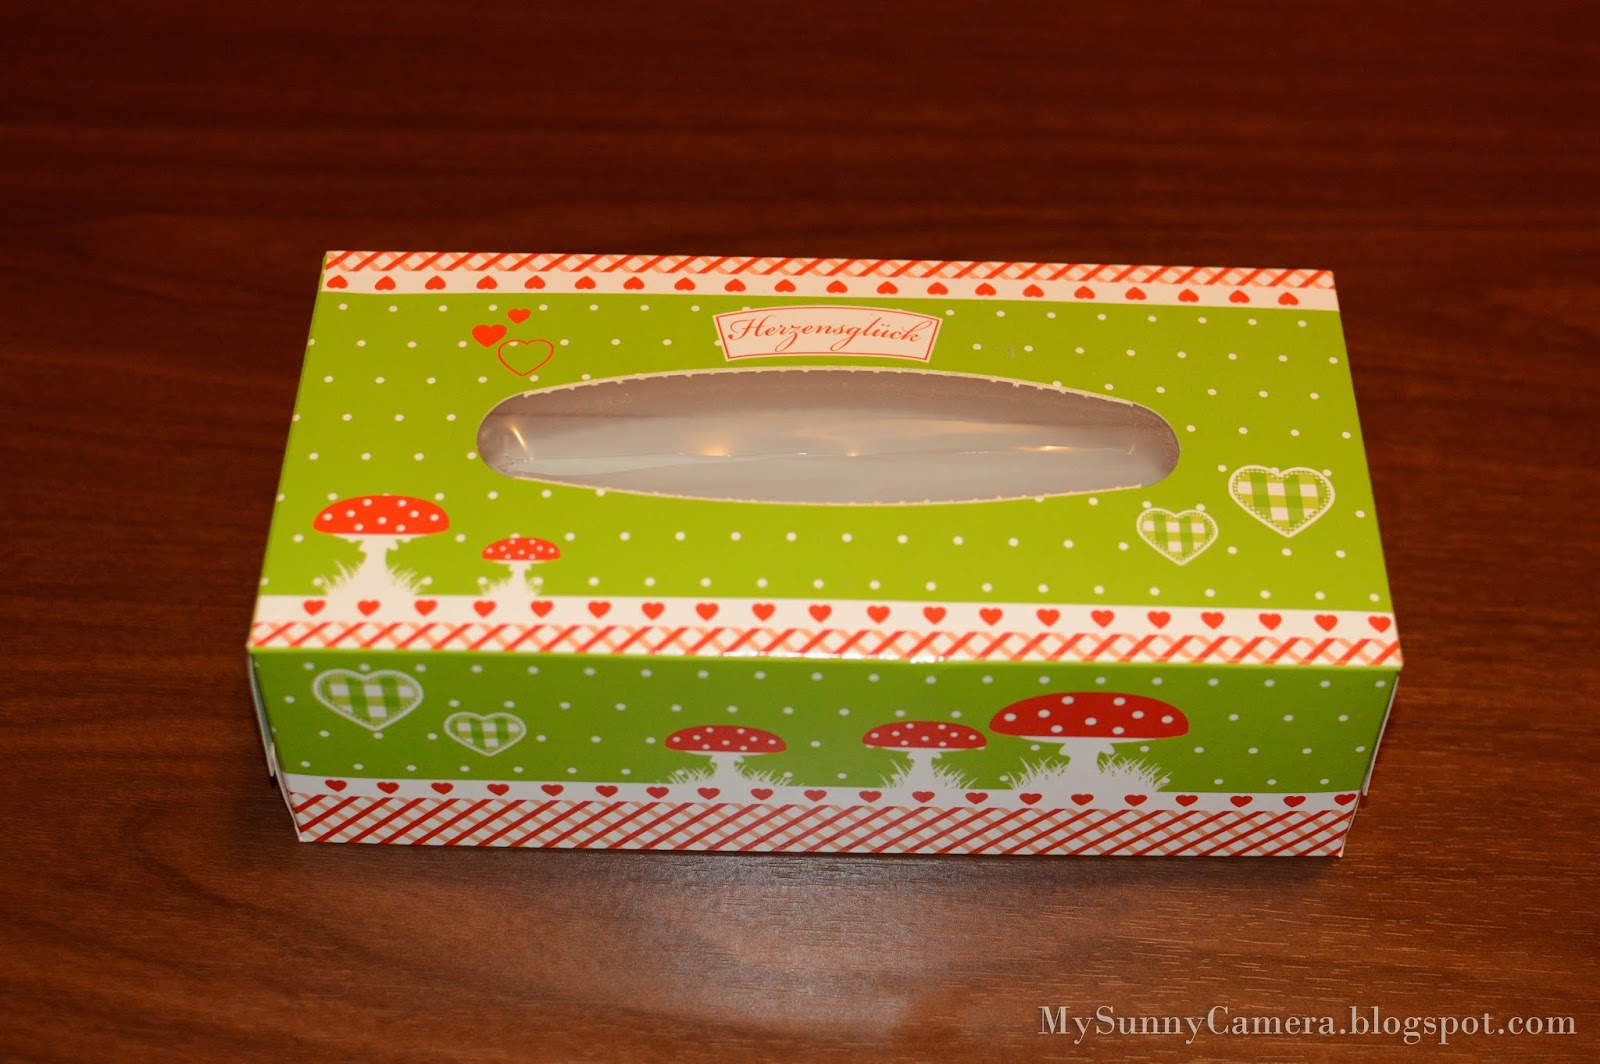
Hi, everyone! Who doesn't like vintage and shabby chic?! Right? :) I turned one of my empty tissue boxes into cute vintage storage box. Super easy, few materials and things to store inside. Here are the steps:
What you need:
1. Empty tissue box;
2. Glue;
3. Scrapbook paper or decorative contact paper;
4. Ribbon and 4 small beads (or button) to secure the top (optional).
STEPS:
1. Cut the top part of the box, but not all the way. Leave the back part to form an opening cover.
2. Use a decorative contact paper - this is the easiest way, but since I didn't have such, I just printed this design on a normal A4 paper and then covered it with transparent contact paper for glossy finish.
Here is my image file, if you want to use the same, you can download it directly from here:
3. Cover all sides of the box with the contact paper:
4. With some white thread, tie up all of the beads.
5. Then glue them to the box.
6. Make a small loop from the ribbon and glue it.
7. I used a tissue paper flower to decorate the top. Here is the tutorial for the paper flower.
I put inside some of my ribbons, but the box can be used for jewelery or other craft materials.
I'm linking to "That DIY Party Time!":
http://diyshowoff.com/category/other/that-diy-party/Labels: DIY, organizing